

As a supplier of BW mud pumps, I often receive inquiries about the proper installation of safety valves on these crucial pieces of equipment. A safety valve is a vital component that protects the pump and the entire drilling system from over - pressure situations, ensuring safe and efficient operation. In this blog, I'll walk you through the step - by - step process of installing a safety valve on a BW mud pump.
Understanding the Importance of a Safety Valve
Before we dive into the installation process, it's essential to understand why a safety valve is so important. A BW mud pump operates under high pressure to circulate drilling mud in the borehole. If the pressure exceeds the safe limit, it can cause severe damage to the pump, pipes, and other components of the drilling system. A safety valve acts as a failsafe. When the pressure reaches a pre - set level, the valve opens, releasing excess pressure and preventing catastrophic failures.
Pre - installation Preparations
Gather the Necessary Tools
To install the safety valve, you'll need a set of basic tools, including wrenches, screwdrivers, and a pressure gauge. Make sure the tools are in good condition and suitable for the size and type of the safety valve and the BW mud pump.
Select the Right Safety Valve
Choose a safety valve that is compatible with your BW mud pump. Consider factors such as the maximum pressure rating of the pump, the flow rate, and the type of fluid being pumped. The safety valve should be able to handle the maximum pressure that the pump can generate and release the excess pressure quickly and efficiently.
Inspect the Valve and Pump
Before installation, carefully inspect the safety valve for any signs of damage or defects. Check the valve seat, spring, and other internal components. Also, inspect the pump and the area where the safety valve will be installed. Make sure there are no obstructions, leaks, or damage to the pump's pressure ports.
Installation Steps
Step 1: Identify the Installation Location
The safety valve should be installed as close as possible to the pump's discharge port. This ensures that the valve can quickly respond to any pressure changes in the system. Locate a suitable mounting point on the pump or the discharge line. The location should be easily accessible for maintenance and inspection.
Step 2: Prepare the Mounting Surface
Clean the mounting surface on the pump or the discharge line. Remove any dirt, debris, or old gasket material. Ensure that the surface is flat and smooth to provide a good seal for the safety valve.
Step 3: Install the Gasket
Place a suitable gasket on the mounting surface. The gasket should be made of a material that is compatible with the fluid being pumped and the operating temperature and pressure of the system. Make sure the gasket is centered and properly aligned with the valve's mounting holes.
Step 4: Mount the Safety Valve
Carefully place the safety valve on the mounting surface, aligning the valve's mounting holes with the holes on the pump or the discharge line. Insert the bolts or studs through the holes and tighten them gradually and evenly. Use a torque wrench to ensure that the bolts are tightened to the recommended torque value. Over - tightening can damage the valve or the mounting surface, while under - tightening can cause leaks.

Step 5: Connect the Inlet and Outlet Lines
Connect the inlet of the safety valve to the pump's discharge port using a suitable pipe or hose. Make sure the connection is tight and leak - free. Connect the outlet of the safety valve to a safe discharge area, such as a drain or a pressure - relief tank. The outlet line should be large enough to handle the flow of the released fluid without causing excessive backpressure.
Step 6: Adjust the Pressure Setting
Most safety valves come with an adjustable spring that allows you to set the opening pressure. Use a pressure gauge to measure the pressure in the system. Slowly adjust the spring on the safety valve until the valve opens at the desired pressure. This pressure should be slightly lower than the maximum safe operating pressure of the pump.
Step 7: Test the Valve
After installation and pressure adjustment, test the safety valve to ensure that it is working properly. Start the BW mud pump and gradually increase the pressure in the system. Monitor the pressure gauge and watch for the safety valve to open at the pre - set pressure. If the valve does not open or opens at the wrong pressure, re - adjust the spring and test again.
Post - installation Checks
Check for Leaks
After the test, carefully check the connections between the safety valve, the pump, and the inlet and outlet lines for any signs of leaks. Tighten any loose connections if necessary.
Inspect the Valve Operation
Observe the operation of the safety valve during normal pump operation. Make sure the valve closes properly after releasing the excess pressure and that there are no abnormal noises or vibrations.
Document the Installation
Keep a record of the safety valve installation, including the valve model, serial number, installation date, pressure setting, and test results. This documentation will be useful for future maintenance, inspection, and compliance purposes.
Maintenance and Inspection
Regular maintenance and inspection of the safety valve are crucial to ensure its proper operation.
Regular Checks
Check the safety valve at regular intervals. Inspect the valve for any signs of wear, damage, or corrosion. Check the pressure setting and make any necessary adjustments.
Cleaning and Lubrication
Clean the safety valve periodically to remove any dirt, debris, or sediment that may accumulate inside the valve. Lubricate the moving parts of the valve, such as the stem and the spring, to ensure smooth operation.
Calibration
Periodically calibrate the safety valve to ensure that it is opening at the correct pressure. This can be done using a calibrated pressure gauge and following the manufacturer's instructions.
Related Products for Drilling
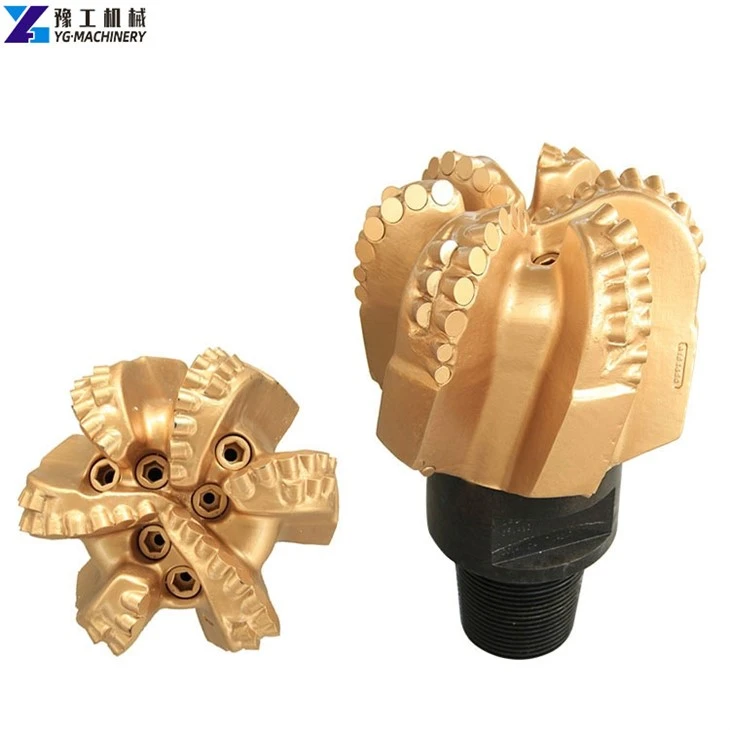
In addition to BW mud pumps and safety valves, there are other important products for the drilling industry. For power supply, you can consider Industrial Diesel Generator, which provides reliable power for drilling operations. When it comes to drilling bits, Tricone Rock Bits and Diamond PDC Drill Bit are excellent choices for different types of rock formations.
Conclusion
Installing a safety valve on a BW mud pump is a critical task that requires careful planning, proper tools, and following the correct procedures. By selecting the right valve, installing it correctly, and performing regular maintenance and inspection, you can ensure the safe and efficient operation of your drilling system. If you have any questions about the installation of safety valves on BW mud pumps or need to purchase high - quality pumps, valves, or other drilling accessories, feel free to contact us for further discussion and procurement. We are committed to providing you with the best products and services in the drilling industry.
References
- Manufacturer's manuals for BW mud pumps and safety valves
- Industry standards for safety valve installation and operation in drilling equipment.